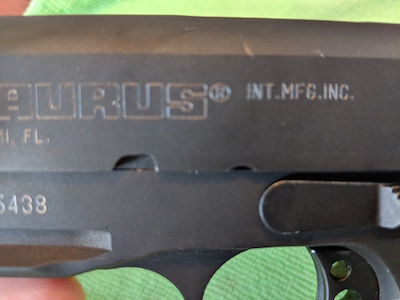
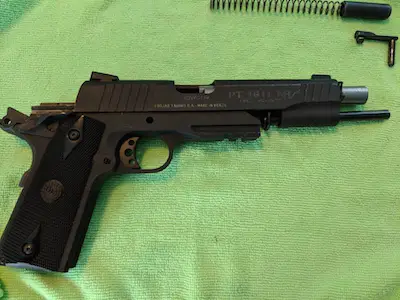
The 1911 model chambered for .45 ACP is one of the most popular and well-known models of handguns. This sidearm was adopted by the military in, you guessed it, 1911. Over the years, the pistol has gained popularity among the civilian population. The models’ design has varied little from manufacturer to manufacturer. In this tutorial, we’re going to cover step by step how to field strip a Taurus PT1911 model chambered in .45 ACP.
However, even though we cover the .45ACP version, this process can also be applied to the Taurus PT1911 in smaller calibers, such as the 9mm version. Although it seems daunting, with a little practice, it will become second nature. Here are the 11 steps to safely disassemble your PT1911:
- Drop the magazine
- Switch off the manual safety
- Lock the slide and inspect to ensure the weapon is clear
- Return the slide to the forward position
- Compress the recoil spring plug
- Turn the barrel bushing
- Allow the spring to expand and remove recoil spring and barrel bushing from the assembly
- Move the slide rearward to allow removal of the slide stop pin
- Once the pin is removed, move the slide forward separating slide assembly from the receiver
- Remove the barrel bushing
- Remove the recoil spring guide
- Extract the barrel
Reassembling the pistol requires that you do the reverse process. However, there are some subtleties that we’ll cover in this article. Let’s dive in.
Table of Contents
Setting Up Your Workstation
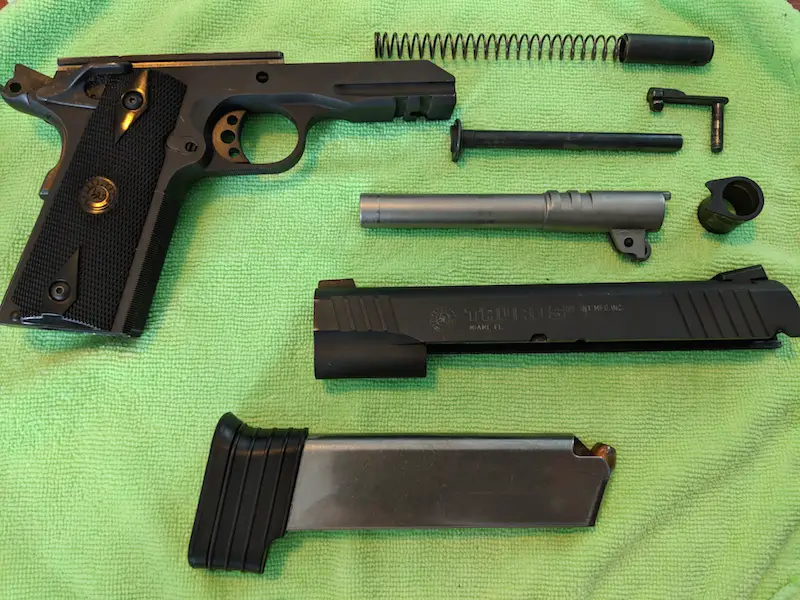
I begin all my tutorials with this step. Oftentimes, the workstation setup is overlooked. However, to prevent the loss of pieces, and to maintain a clean weapon, I highly recommend it. Whenever you begin the process of field stripping a weapon, lay out a lint-free towel or other lint-free cloth — I use a microfiber towel. If you have an oversized mouse pad, this can also be used. Ensure that all of the parts will fit on your workstation with ease. For the purposes of field stripping the PT 1911 model, a 12″ X 6″ workstation should be sufficient.
Clearing the Weapon
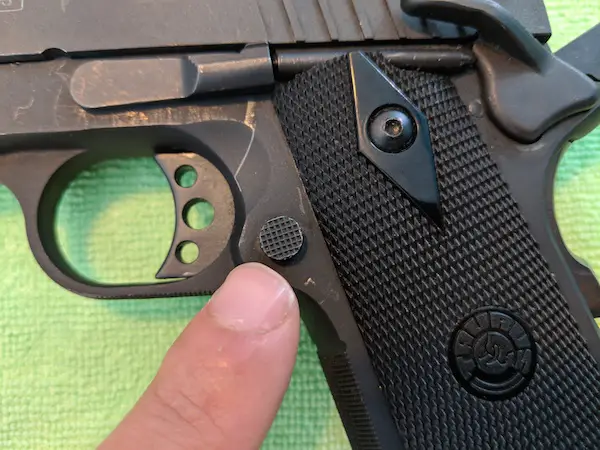
The first set of steps are dedicated to clearing the weapon. Begin by dropping the magazine. Because you drop the magazine first, an unintentional discharge will not result in another round being chambered. To drop the magazine, compress the magazine catch (see fig. 1). The magazine may slide free, and drop into your hand. However, some magazines will only eject slightly and will need you to assist with removing the magazine completely.
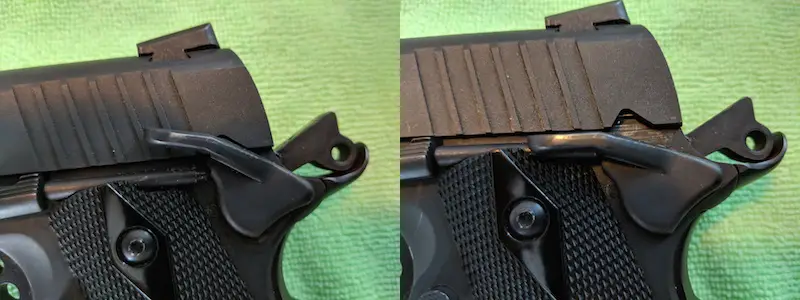
Next, disable the manual safety. The PT1911 model has several safeties built into the pistol, including a grip safety and half cock safety. For the purposes of this tutorial, the manual safety is located near the hammer and prevents the slide from moving. The illustration below (see fig. 2) shows both the on and off position. If you are unable to move the slide rearward, this is likely the reason why.
Finally, move the slide rearward, and engage the slide stop. Any round in the chamber should have been ejected. Now you are free to inspect the chamber and the magazine housing (see fig. 3). You should be able to see clearly through to the workstation. Furthermore, ensure no cartridge is loaded by checking the chamber. Now, you can continue field stripping your PT1911.
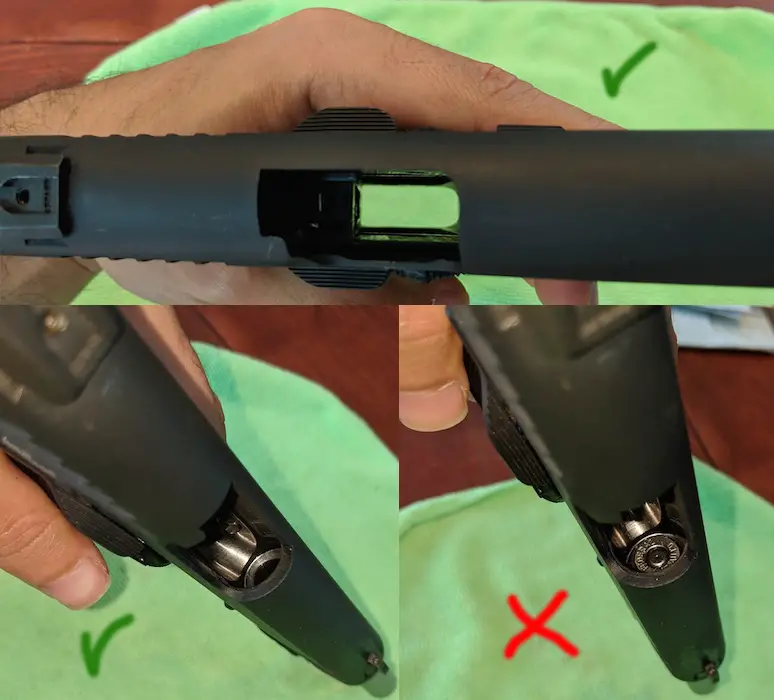
fig. 3 – top – clear magazine, bottom left – clear chamber, bottom right- not cleared! cartridge loaded! STOP!
Working On The Spring
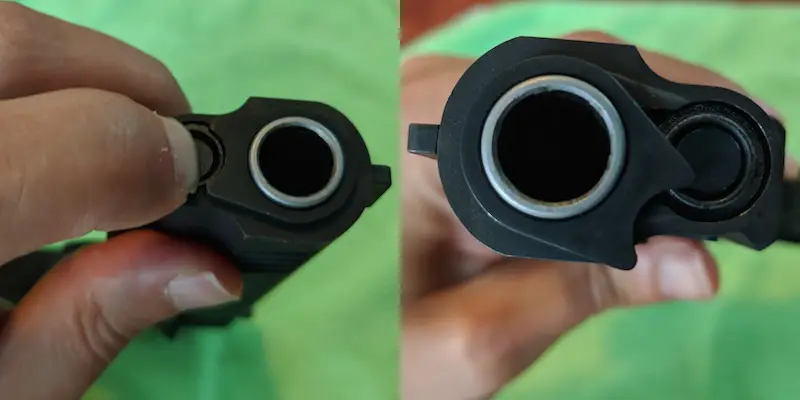
fig. 4 – compress the recoil spring plug and rotate barrel bushing to allow the plug to clear bushing
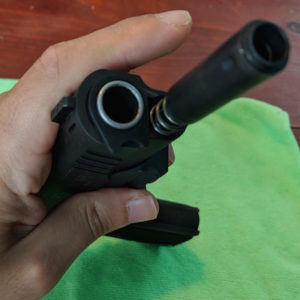
Next, return the slide to the forward position. Since you’ve properly cleared the weapon, don’t worry about the hammer being cocked. Compress the recoil spring plug using your finger. This will allow the barrel bushing to rotate freely (see fig. 4). If you are unable to compress the recoil spring plug sufficiently with just your finger, you can use a flat head screwdriver to assist.
Rotate the barrel bushing to the left or right 90 degrees, after the spring plug is compressed. Removing the spring and plug requires clearance of the barrel bushing (see fig. 5). Remember that the spring is under tension, so use caution when removing or the spring will fly out. Set this down on your workstation.
Removing the Slide Assembly
At this point, you can move the slide toward the rear of the pistol, and not have to fight the tension of the spring. On the slide, you’ll notice there are two notches (see fig. 6). The foremost notch is used to lock the barrel in the rearward position. However, to remove the slide stop pin, you’ll use the second notch.
Line up the top of the slide stop with the second notch. Next, press on the pin from the opposite side of the weapon, and remove the pin. You will likely hear an audible click as the pin unsets. Once this is complete, you can move the slide assembly forward and disconnect it from the receiver (see fig. 7). I recommend inverting the weapon to keep the guide rod from falling out.
Barrel, Rod, and Bushing
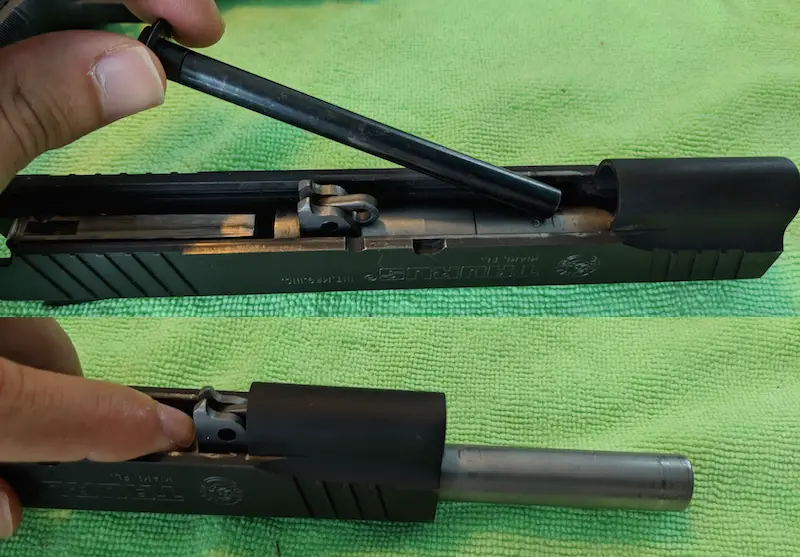
fig. 8 – Remove the guide rod at the rear of the slide, and barrel through the front of slide after removing barrel bushing
Afterward, remove the barrel bushing from the front of the slide. Regardless of the position, it is in, the barrel bushing will need to be rotated to the right in order to remove. The bushing will slide out toward the front of the barrel.
Next, you will need to remove the guide rod. To remove the guide rod, move it toward the rear of the slide until it clears the housing. Finally, you’re ready to remove the barrel. To extract the barrel, move it toward the front of the slide (see fig. 8). Congratulations, you’ve successfully field stripped your Taurus PT 1911!
Re-Assembling Your Taurus PT1911
In order to put your Taurus PT1911 back together, you’ll simply need to go in the reverse order. There are a couple of tips and tricks that will make this process easier.
Slide Re-Assembly
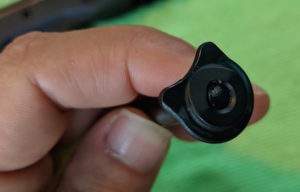
First, re-insert the barrel, by sliding it through the front of the slide. Next, put the guide rod in place from the rear of the slide. You’ll notice there is a small circular piece attached to the bottom of the barrel. This pieces is the barrel link and is depicted at the top of figure 10.
You’ll need to fold the barrel link up to insert the guide rod correctly. On the rear of the guide rod, there is a crescent moon shaped piece of metal that must rest on the barrel (see fig. 9).
Once the barrel and guide rod are in place, re-insert the barrel bushing on the front of the slide. This is all done while the slide is inverted. You may need to lift the guide rod slightly to place the barrel bushing.
Combining The Slide and Receiver
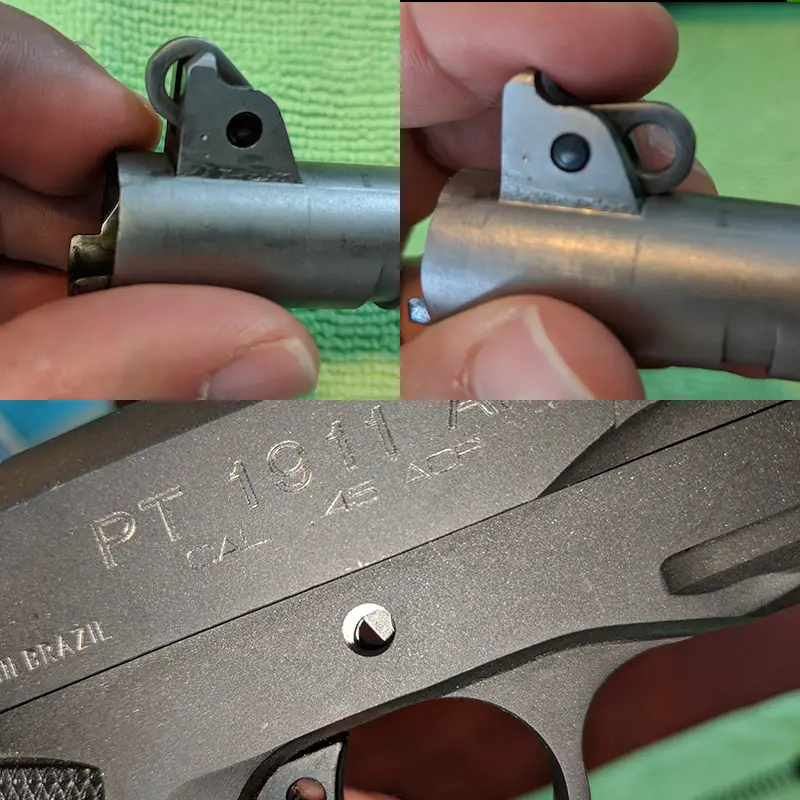
fig. 10 – The barrel link will pivot as shown. In the bottom image, the barrel link is not properly aligned and the pin will not fit.
When putting the slide onto the receiver, you’ll need to fit the slide into the corresponding grooves. I’ve found it’s easiest to pinch the guide rod with your thumb. As you attach the slide, the barrel and guide rod will move from their original position. Allow the slide to continue to travel rearward, and keep the barrel and guide rod in the forward position.
Previously, I mentioned the barrel link. The slide stop pin must pass through this when putting the weapon back together (see fig. 10). You’ll need to align the rear notch on the slide with the aft-most portion of the slide stop pin. Admittedly, this is probably the most difficult part of re-assembling your PT1911. You’ll need to make sure the following conditions are met:
- Barrel link lines up with the slide stop pin holes on the receiver
- Slide notch lines up appropriately with where the back of the slide stop pin will rest (see fig. 11)
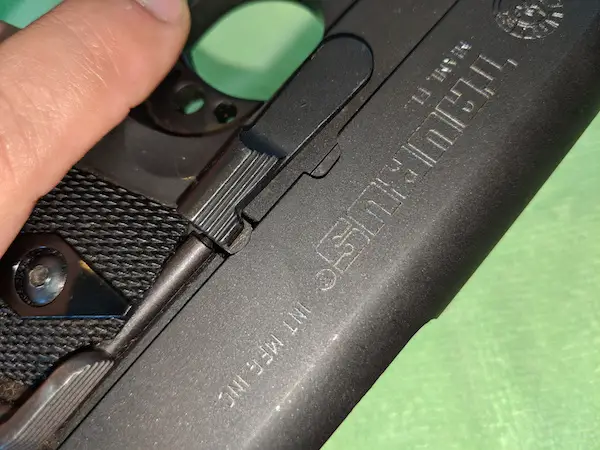
fig. 11 – The notch and rear of the slide stop pin must be matched as shown for the pin to seat itself.
In order for the slide to move freely, compress the grip safety. Don’t be afraid to apply gentle pressure to get the slide stop pin to seat. If you run into problems, take the pin out and try again. Once you’ve done this, you’re almost home free.
After seating the slide stop pin, return the slide to the forward position. Insert the recoil spring around the guide rod, and compress. Twist the barrel bushing so that it retains the recoil spring plug, and you’re done!
Parting Shots
Learning how to field strip a Taurus PT1911 takes time and patience. However, I promise things will get easier and you’ll be able to do it blind-folded soon enough. Whenever you are dealing with a firearm, pay special attention to anything with a spring. These pieces are usually under pressure, and if you’re not careful you can lose pieces. If you’ve found this article helpful, please take a look around the site. Let me know in the comments if there’s anything I missed or is unclear.
